
II106700-5
Rev. B
Page 50
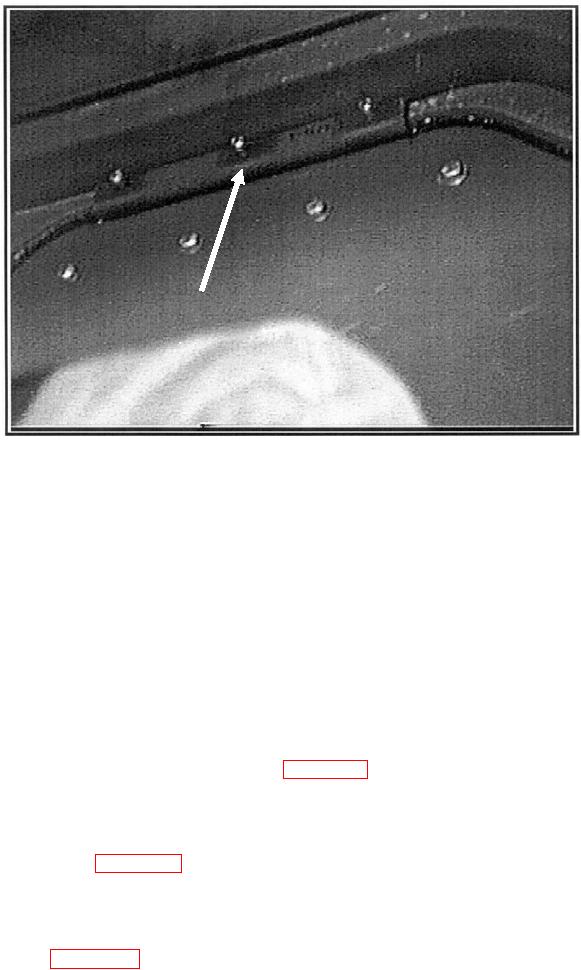
Figure 31. Slide the Mounting Armor Brackets over the rear cab window opening edges.
f. Adjust the driver's-side Mounting Armor Brackets, as necessary, and tighten the
12 bolts (1/4 20 x 0.750 LG) to secure the Mounting Armor Brackets to the cab.
Torque the bolts to 9 ft-lb.
g. Tighten the 12 locknuts (1/4 20) that secure the driver's-side Rear Cab Armor Panel
to the Mounting Armor Brackets. Torque the locknuts to 9 ft-lb.
h. Use urethane caulking (P/N 104302-1) to caulk the gap between the driver's-side
Rear Cab Armor Panel and the rear cab window opening.
k. Remove the material handling equipment and lift sling from the driver's-side Rear
Cab Armor Panel.
m. Drill a 1/4-in. hole two places (see Figure 29a) (centered) through the 2.000 and
2.250 holes in the armor panel into the cab.
n. Install bolt (1/4 20 x 1.250), armored washer (P/N 111403-1), washer (1/4-in. ID),
and self-locking nut (1/4 20), with the fender washer on the inside of the cab, in two
places (see Figure 29a). If the sound-damping material is in the way, remove it from
around the hole.
o. Repeat Steps "a" through "n" for the passenger-side Rear Cab Armor Panel
(P/N 106724-4), except only one armored washer installation is required
(see Figure 29a).