
II106700-5
Rev. B
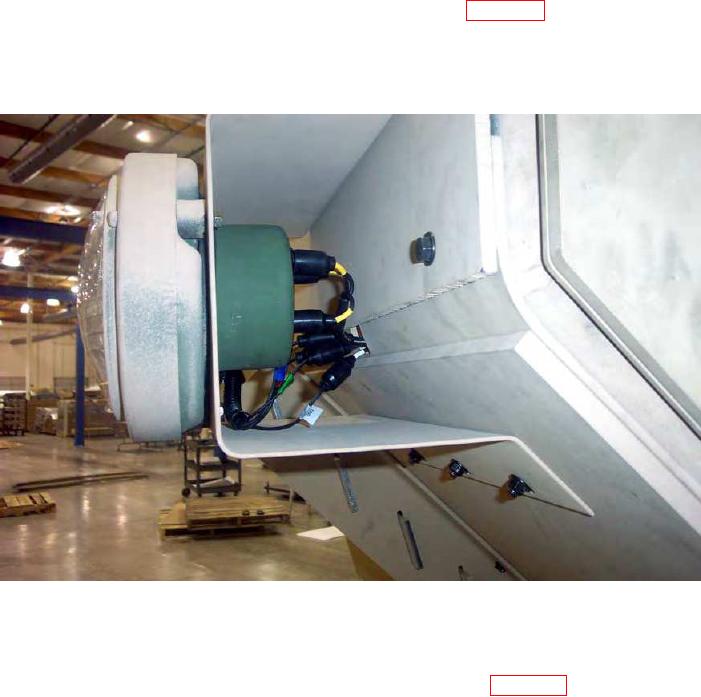
5.1.4 Install the Headlights
a. In order to install the Headlight Assemblies, it is necessary to identify which type of
Marker Light is used on the vehicle. Before being removed, the Marker Light was
located just inboard of the Headlight. Inspect the Marker Light and determine whether
an incandescent bulb (i.e., a common lamp bulb) is used inside the light. If an
incandescent bulb is NOT found, install the Headlight Assemblies using Steps b, c, e,
and f, as the Adapter, P/N 111442-1, is not required. If an incandescent bulb IS found,
install using Steps b through f.
b. Install the LH Headlight Bracket (P/N 111418-1) (See Figure 28) using two bolts
(3/8 16 x 1.500 LG) and four washers (3/8 ID) in the top holes. Then, install
three bolts (3/8 16 x 1.500 LG), six washers (3/8 ID), and three locknuts
(3/8 16) in the bottom holes of the Headlight Bracket.
Figure 28. Left-hand Headlight Bracket Installed.
c. Install the RH headlight bracket (P/N 111418-2) using three bolts (3/8 16 x 1.500 LG),
six washers (3/8 ID), and three locknuts (3/8 16) (See Figure 28). Hand-tighten the
locknuts. For the bottom holes, use the three bolts (3/8 16 x 1.500 LG),
six washers (3/8 ID), and three locknuts (3/8 16).