
II106700-5
Rev. B
5.1.3 Install the Front Armor Protection Kit, P/N 106705-3
a. Install the LH and RH Seven-Wire Wiring Pigtail (P/N 111438-4) to extend the
headlight and marker light wires (plug in).
b. Insert the Seven-Wire Wiring Pigtail and the attached Grommet into the Headlight
Cover (P/N 113379-1) on the LH and RH sides.
c. Caulk the inside perimeter of the Headlight Covers with sealant (P/N 104302-1 of
Kit P/N 106701-4).
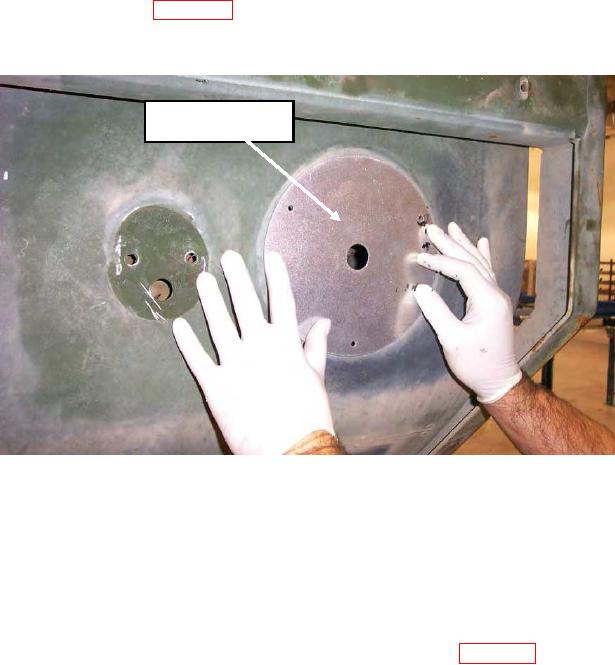
d. Attach the Headlight Covers (LH and RH using three screws (No. 14 - 0.500 LG) for
each cover (See Figure 26). Start the screws from inside the cab. The cover's holes
are threaded for the No. 14 screw.
P/N 113379-1
Figure 26. Install the Headlight Covers.
e. Using a lift sling and material handling equipment (hoist, forklift, etc.), position the
Lower Brush Guard (P/N 111406-) over the grille area of the front of the cab, and
position the two armor panels (P/N 111426-1) on the Lower Brush Guard, and then
attach the items to the cab using eight bolts (3/8 - 16 x 1.500 LG) and
eight washers (3/8 ID); four bolts and washers are installed on each side of the
Lower Brush Guard. Hand-tighten the eight bolts. Remove the material handling
equipment and lift sling from the Lower Brush Guard (See Figure 27).
f. Install the Upper Brush Guard Installation Guides (studs) (P/N 107430-1 of Kit
P/N 106707-1) into the second threaded bolt hole from each outside end of the
upper skid plate mounting frame. Hand-tighten the studs in place.