
II106700-5
Rev. B
c. Install the cotter pin in the retaining pin and spread the cotter pin ends to hold it in
place.
d. Repeat Steps "a" through "c" for the remaining tow shackle.
5.1.16 Re-install the Machine-Gun Mount (if required)
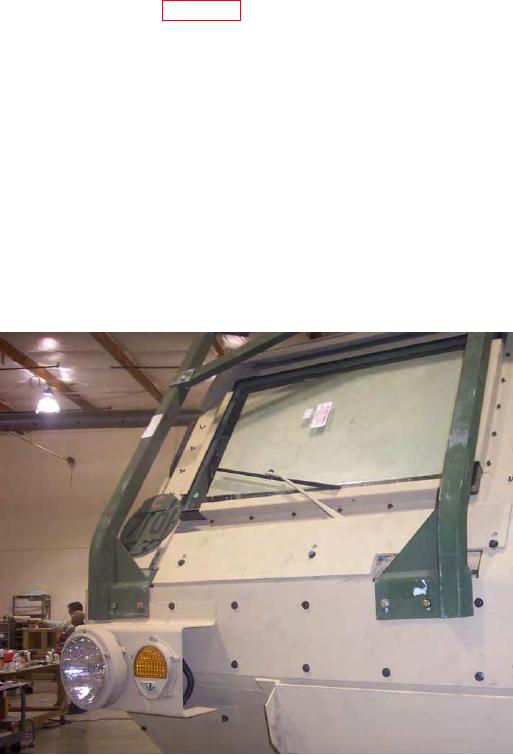
a. Reverse the Upper Brush Guard Cover (bottom to top) (P/N 111437-1) to provide a
notch that allows the Machine Gun Mount support bars to attach to the Brush Guard
mounting structure (See Figure 49).
b. Hoist the Machine-Gun Mount into place on the top of the cab.
e. Replace the nuts, bolts, and washers previously removed into the mounting brackets
(two in the front and one in the back).
f.
Secure the Machine-Gun Mount in place using four bolts (3/8 16 x 4.500), eight
washers (3/8 ID), and four lock nuts (3/8 16). If needed, optional longer bolts
(3/8 16 x 4.75) are included in the Extra Fastener Kit.
5.1.17 Re-install Vehicle Identification Plates
a. Re-install the Vehicle Identification Plates from the OEM driver's door onto the new
armored driver's door using the urethane sealant (P/N 104302) used for the
windshield installation.
Figure 49. Reversed Upper Brush Guard Cover.