
II106700-7
Rev. -
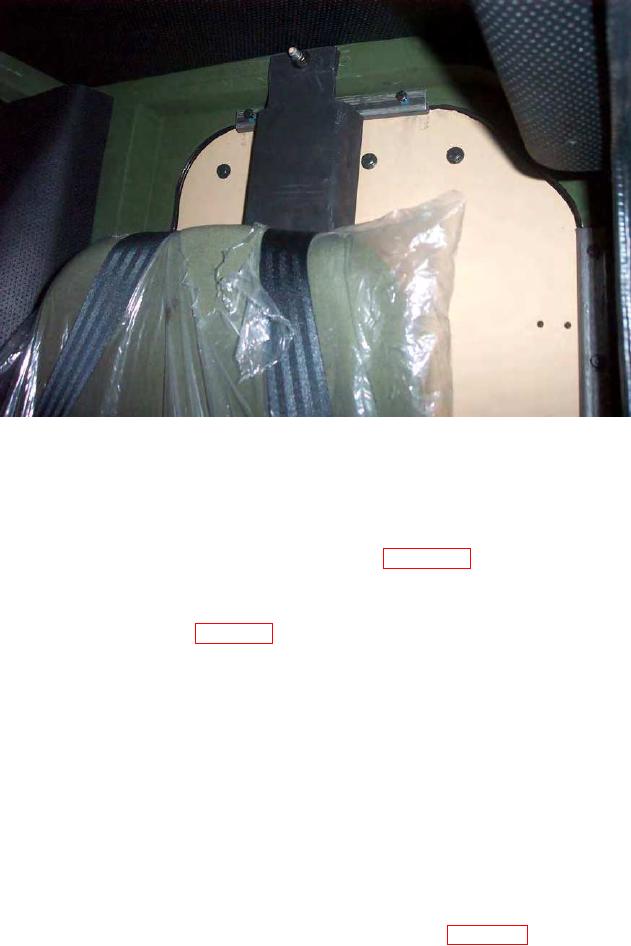
Figure 26. Move the Harness Bracket to the inside for increased clearance for
the Rear Cab Armor Panel Bracket.
b1. Prior to installation of the armor panels, insert four bolts (1/4 20 x 1.000), eight
washers (1/4 ID), and four nuts (1/4 -20) through the four optional energy-absorbing
seat mounting holes on each armor panel (see Figure 26a for locations). Ensure that
the nut is on the outboard side.
c. Install four Mounting Armor Brackets (P/N 106734) onto the Rear Cab Armor Panel
(P/N 106724-3) (See Figure 27) using 12 washers (3/8 ID), 12 washers (1/4 ID), and
12 locknuts (1/4 20). Tighten the locknuts finger tight.
d. Apply Loctite 242 to 12 bolts (1/4 - 20 x 0.750 LG) and install them two turns into the
four Mounting Armor Brackets (P/N 106734-4) previously installed on the driver's-
side rear cab armor panel.
d1. Using a bolt (3/8 16 x 1.250), washer (3/8 ID), and the nut eye (P/N 106795),
secure the nut eye in the 1/2-in. hole in the center of the panel with the nut eye
outboard. Once the panel is secured, remove the nut eye and replace it with a
washer (3/8 ID) and lock nut (3/8 16) from the Extra Fastener Kit. Torque to
35 ft-lb. The nut eye will be used to position the other rear cab armor panel.
e. Using a lift sling and material handling equipment (hoist, forklift, etc.) position the
driver's-side Rear Cab Armor Panel (P/N 106724-3) onto the outside rear of the cab,
with the arrow (↑) pointing up and facing the installer, and slide the Mounting Armor
Brackets over the rear cab window opening edges (See Figure 28).