TM 9-2320-302-20
0190 00-3
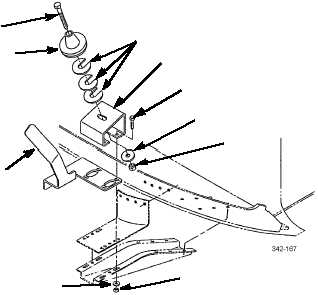
HOOD PROP AND MOUNT REPLACEMENT - CONTINUED
0190 00
HOOD MOUNT REMOVAL - CONTINUED
HOOD MOUNT INSTALLATION
1.
Install hood guide (23) and mounting bracket (19) with four screws (22), washers (21) and new lock nuts (20).
2.
Install three spacers (18) and locator (17) to mounting bracket (19) with screw (16), washer (15) and new lock nut (14).
HOOD PROP INSTALLATION
1.
Install clip (13).
2.
Install hood bracket (7) to hood (1) with two screws (12). Tighten screws to 40 lb-ft (54 Nm).
3.
Install radiator bracket (5) to radiator (10) with two screws (9). Tighten screws to 180 lb-in (20 Nm). Install decal (11).
4.
Install jam nut (8) and rod end (4) on prop (6). Rotate prop into rod end as far as it will go, then back out two to four
turns.
5.
Install rod end (4) to radiator bracket (5) with washer (3) and nut (2).
6.
Install prop (6) end into hood bracket (7). End of prop should be against slot end closest to vehicle when hood is fully
open and tilt assist cables are tight.
7.
If no adjustment is required, tighten jam nut (8) against rod end (4). If adjustment is required, proceed to next step.
8.
Rotate prop (6) until prop is against hood bracket slot end closest to vehicle when hood is fully open and tilt assist cables
are tight.
9.
Tighten jam nut (8) against rod end (4).
10.
Adjust hood (WP 0187 00).
END OF WORK PACKAGE
16
17
23
18
19
22
15
14
20
21