
TB 9-2320-360-13&P-1
A/C CONDENSER COIL REPLACEMENT - CONTINUED
0048 00
INSTALLATION
1.
Install assembly mount (7) on radiator (19) with four screws (18) and new locknuts (17).
2.
Install two shrouds (14) and gaskets (15) with four screws (16) and new locknuts (13).
3.
Install A/C condenser coil (12) on assembly mount (7) with four screws (11), spacers (10), two side shrouds (9) and four
new locknuts (8).
4.
Install A/C receiver/dryer (6) on assembly mount (7) (WP 0054 00).
WAR N I N G
Adhesives and sealing compounds can burn easily, can give off harmful vapors, and are harmful to skin and
clothing. To avoid injury or death, keep away from open fire and use in well-ventilated areas. If adhesive or
sealing compound gets on skin or clothing, wash immediately with soap and water.
5.
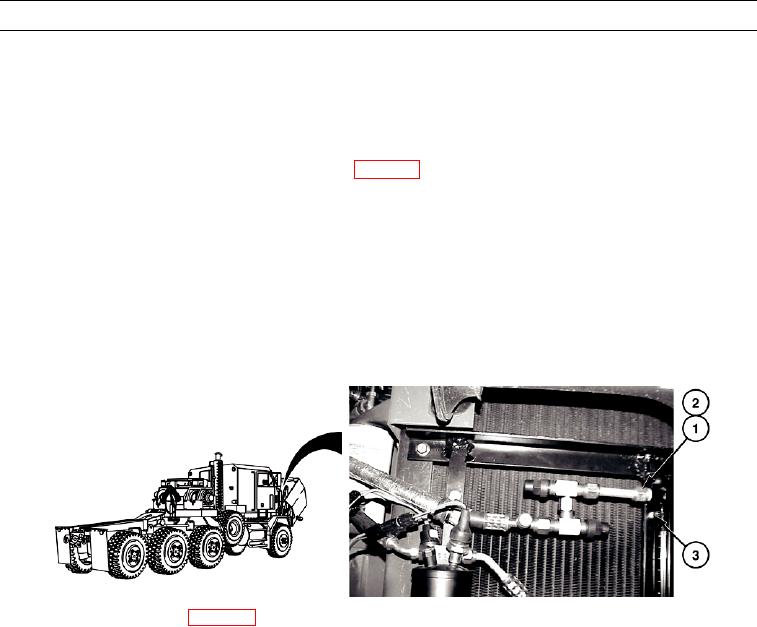
Apply sealant to hose (4).
6.
Install #6 A/C hose (4) and new #6 O-ring (5) on A/C condenser coil assembly (3).
7.
Install shutoff valve straight adapter (1) and new #8 O-ring (2) on A/C condenser coil assembly (3).
HETF00569
8.
Install A/C receiver/dryer (WP 0054 00).
9.
Close hood (TM 9-2320-360-10).
10.
Remove wheel chocks (TM 9-2320-360-10).
END OF WORK PACKAGE
0048 00-3/(0048 00-4 Blank)