
TB 9-2320-335-13&P
3-81.2.
SERPENTINE DRIVEBELT MAINTENANCE
(SERIAL NUMBERS 300000 AND ABOVE) (Cont'd)
c. Alignment
CAUTION
Serpentine drivebelt failure (abnormal wear or belt dislodgement)
can be caused by misalignment of pulleys, improper installation,
or foreign objects introduced into belt path. Damage to equipment
may result.
NOTE
Ensure tab of pulley alignment tool seats flush against back side
of crankshaft pulley.
1.
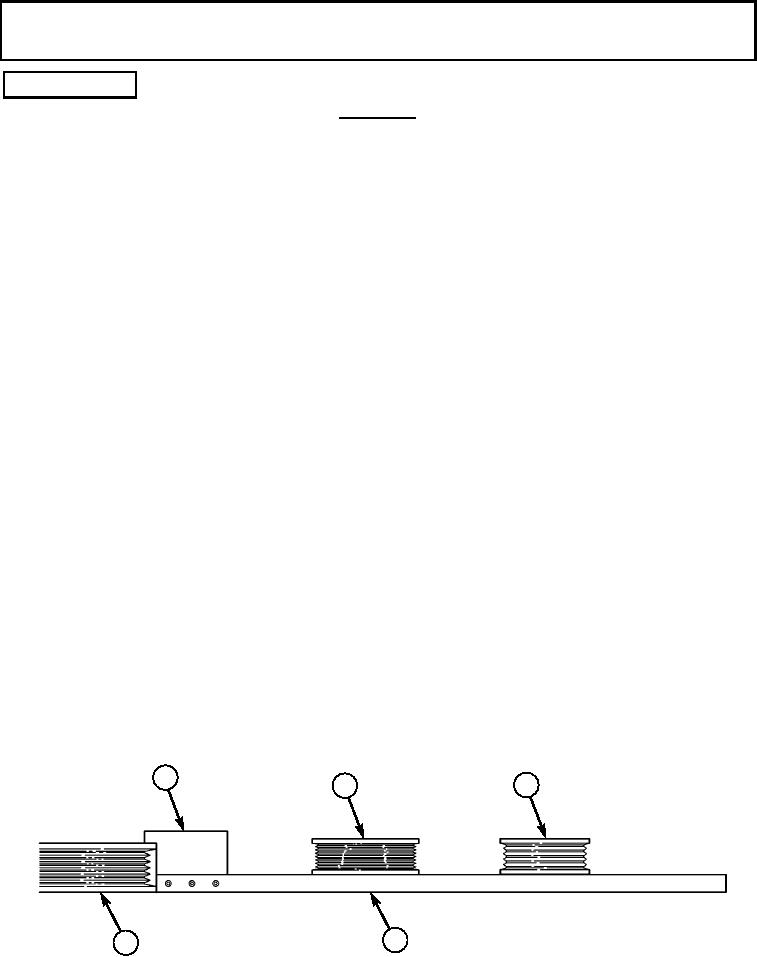
Position tab (1) on pulley alignment tool (4) behind crankshaft pulley (5) and place straightedge
portion of pulley alignment tool (4) across power steering pump pulley (2) and alternator pulley (3).
Tab (1) on pulley alignment tool (4) should seat flush against back side of crankshaft pulley (5).
Straightedge portion of pulley alignment tool (4) should seat flush against power steering pump
pulley (2) and alternator pulley (3). If pulley alignment is not flush, rotate engine and recheck
alignment in several locations. Proceed to step 3 if pulleys are out of alignment.
2.
Position straightedge portion of pulley alignment tool (4) against idler pulleys (7) and (8) and check
for bent mounting bracket (9). If mounting bracket (9) is bent, refer to TM 9-2320-387-24-1 for
replacement.
NOTE
If any adjustments are made while performing steps 3 through 8,
start engine and check for proper tracking of belt.
3.
Check all pulleys (2), (3), (6), (7), (8) and (5) for mud or foreign objects lodged in grooves.
NOTE
Power steering pump pulley must be flush with end of power
steering pump shaft.
4.
Check power steering pump pulley (2) for proper installation. Refer to TM 9-2320-387-24-1.
5.
Check power steering/alternator mounting bracket (11) for proper installation and security of
mounting hardware. Refer to TM 9-2320-387-24-1.
6.
Check alternator pulley (3) for proper installation. Refer to TM 9-2320-387-24-1.
7.
Check alternator (10) for proper installation and security of mounting hardware. Refer to
TM 9-2320-387-24-1.
8.
Check idler pulleys (8) and (12) and mounting bracket (9) for proper installation and security of
mounting hardware. Refer to TM 9-2320-387-24-1 .
9.
Repeat steps 1 and 2 to verify alignment.
1
3
2
4
5
3-52