5. Remove evaporator unit from carton. Remove and save five
screws and plastic cover from evaporator unit. See figures
5 and 6
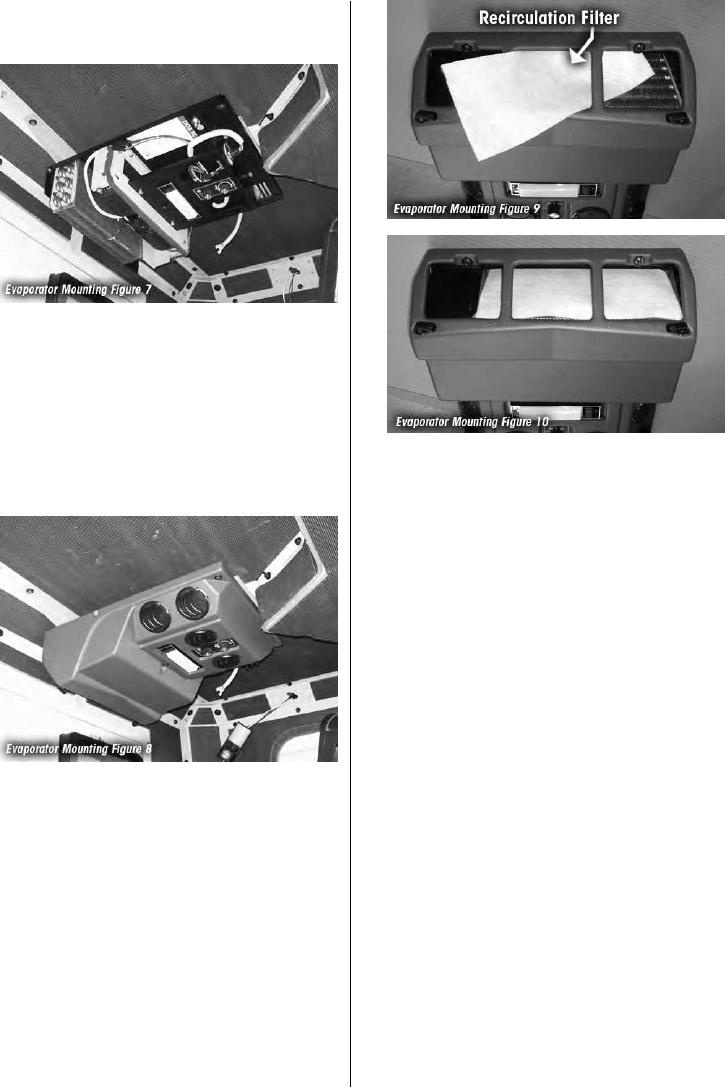
6. Check position of front evaporator bracket by placing
evaporator unit against ceiling so that the threaded
studs on the mount brackets protrude through slots in
evaporator mounting panel. See figure 7. Adjust fore-and-
aft position of front bracket if required. Remove evaporator
unit and tighten front bracket bolts to 15 Lbs/Ft per armor
installation instructions.
7. Attach evaporator unit to front and rear bracket studs with
9. Locate RD-5-11819-0 recirculation air filter in RD-2-4534-
lock nuts and flat washers from kit. Make sure evaporator
0 evaporator mount kit. Push filter through air intake
unit wires are routed behind front bracket and are not
openings on evaporator unit and position against rear face
pinched between bracket and unit housing.
of evaporator coil. See figures 9 and 10.
8. Reinstall plastic cover using original screws from step 5.
See figure 8
RD-2-4663-0 (REV --)
PAGE 5
M915A2

